Journey into my crazy for a minute. My mother scheduled family pictures for December 26th last year, the only day that all of my siblings and kids were in town (there are 41 of us). Awesome right? Not awesome, I was 5-weeks postpartum and not feeling into the family picture groove. Considering the last time we had family photos for the wall I was TWELVE I was cringing my postpartum life was about to be documented for all to see for a mere twenty years. Honestly. The pictures came and they were actually pretty darn good, in a cheeks-closing-in-on-my-eyes sort of way, but good. While ordering a print (and this is where the crazy begins) I thought the 11×14 was too small, but the 18×24 was too expensive and showed too much of my bod and the baby that would change sooooo quickly. But, oh! Good thing there was another option, a 12×18. Perfect.
I did not even think about how hard it would be to find a frame for a non-popular size picture… especially in a small town! After looking around I thought I’ll just go online… nope, too expensive. Oh, I’ll just make one. Off to the store to buy wood… yikes, good flat wood is almost as much as a frame, I’ll find something else. Walking around the house, hey, what about that old pallet? I’ll just chop it up and glue it together and make something awesome. Something unique… and then, lightbulbs going off all over.
I hope this tutorial helps you demise something fantastic for your pallet wood!
1. Find a pallet… pallet wood can be kinda pretty, but this one was shabby and yucky, even for pallet wood! But I planned to hang this family picture is in our entry (yep, I’m cheesy) right across from our amazing train so shabby worked great for me.
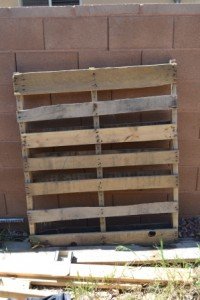
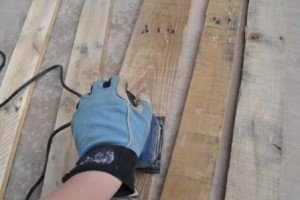
2. Yank off all the wood (leave any nails if they won’t kill you) and sand off the bla without taking off too much magic (matter of opinion of course).
3. Time to join them together. You might be surprised how strong wood glue is! I glued the planks together and then bonded them with brackets. (I started with two and then added on, my wood was crooked and took a while to be all together.)
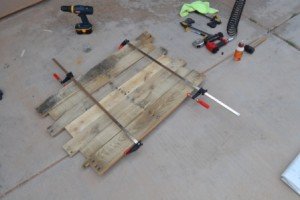
4. If your wood is warped and wrangelly like mine (so love it) you may have to reinforce it on the back. Yep, those are paint mixers. Free wood=good.
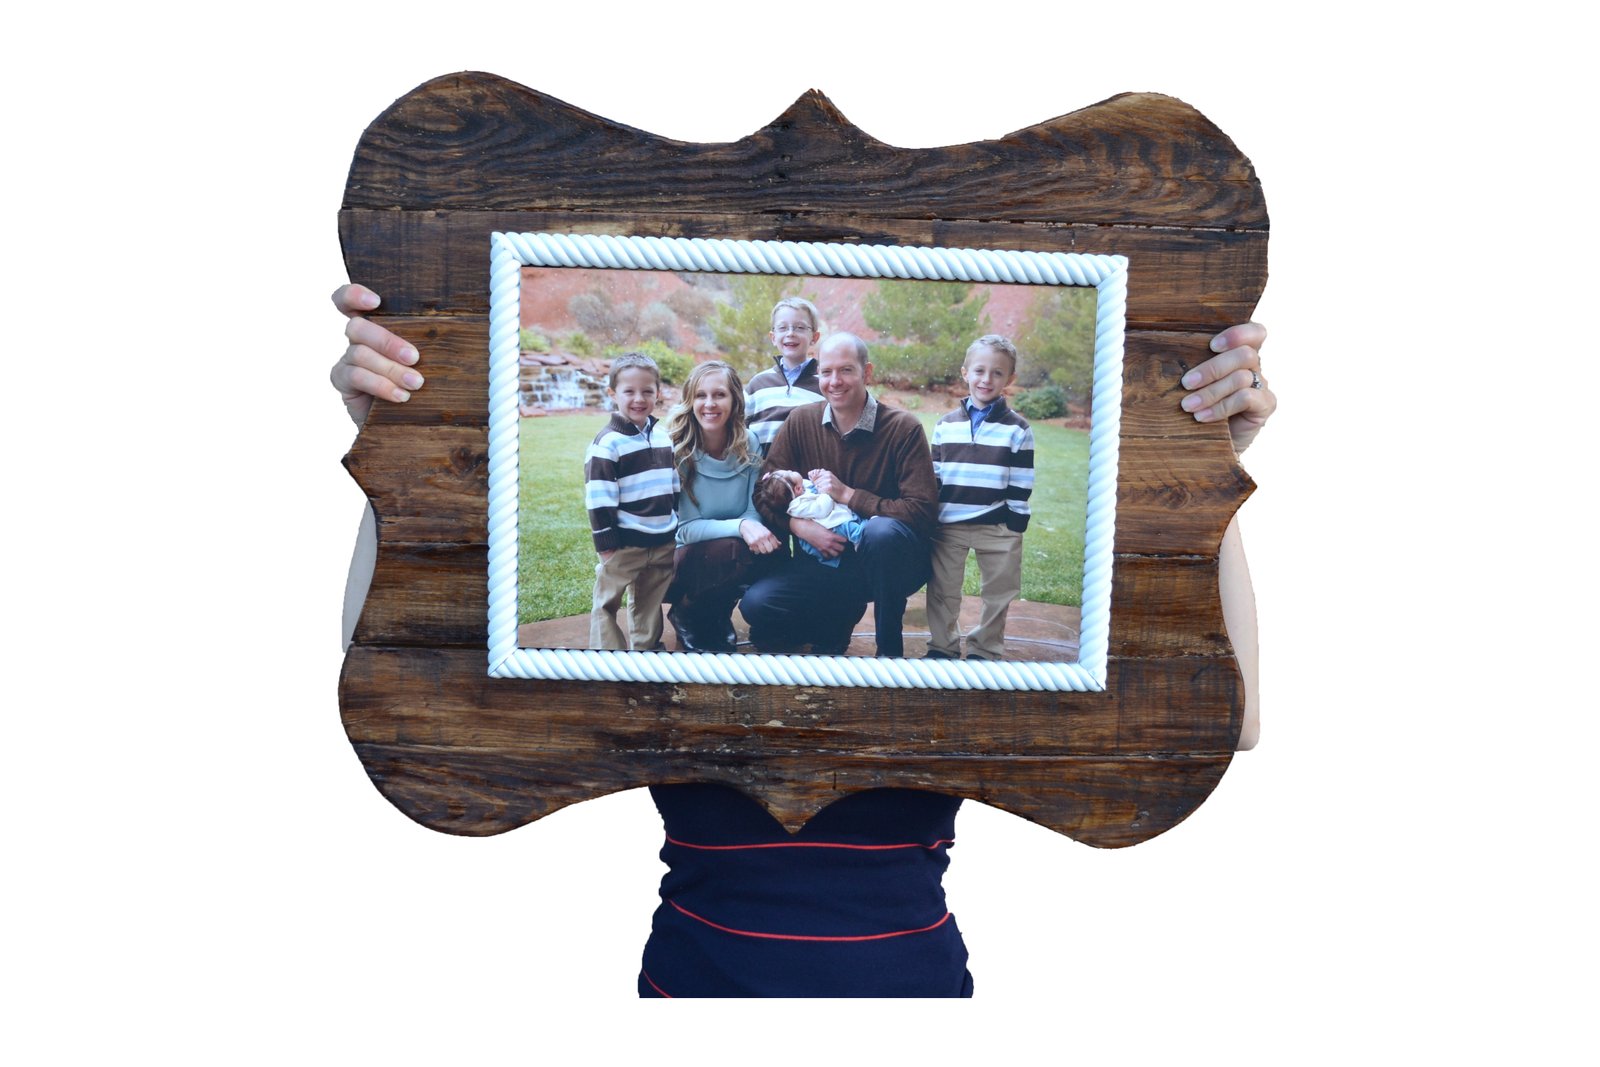
5. Making the frame: I call this step bracketerring, mainly because I don’t know the real term. I swear I looked forever for a bracket-like pattern and couldn’t find one. So, I took butcher paper (you could use newspaper) and folded it twice (in half and then half again) and with the folded edges in I traced a quarter of my picture in the middle and drew the pattern I wanted on the outside. I tweaked it over and over until I finally got what I wanted.
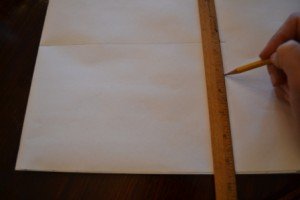
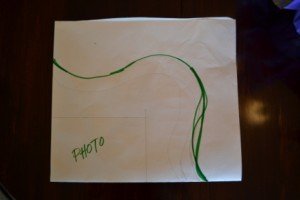
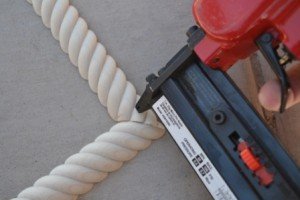
6. I cut it out and tried it out on the board. To add a little softer touch I added some trim around the photo, cut to border the picture, edges at 45 degree angles. I first gorilla wood glued the edges, then used a brad nailer to connect the edges. This is when I started getting pretty excited.
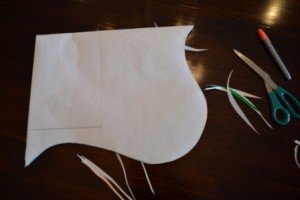
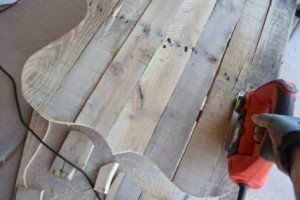
7. Next I traced the brackettering pattern onto the pallet and cut, my favorite part! I sanded the edges down and headed toward the paint.
8. Before attaching the trim with a brad nailer I spray painted the trim frame white and stained the wood with an old friend (I also used the stain on my kitchen table and the train base).
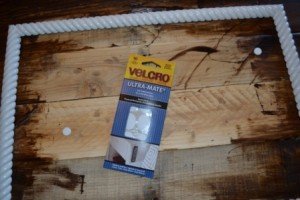
9. I tried a few different things to attached the photo to the wood frame. I didn’t want to glue it in case I wanted to swap everything around (happens all the time around here), so what finally worked was some heavy duty Velcro (yes I cheated and only stained the wood that would be seen!) I drilled in hanging wire with screws on the back and used one of my favorite ways to hang heavy objects, MagicHooks from those infomercials (ha!) but these babies seriously work!
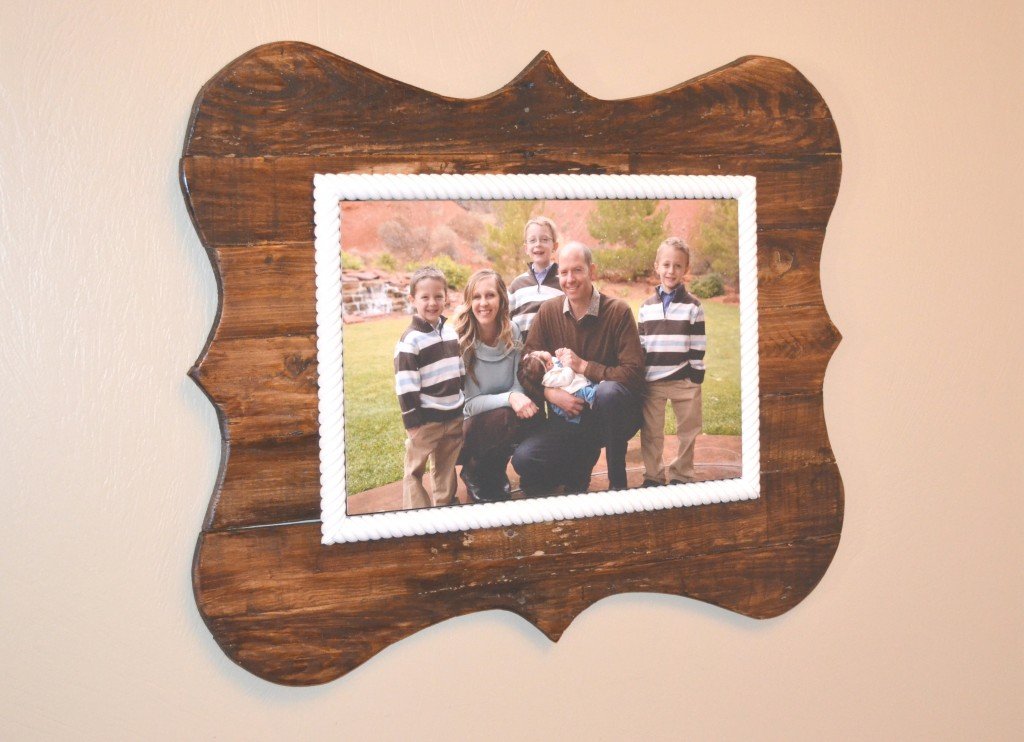
I am so loving this frame. It’s unique, upcycled, cost about $8 for the trim and now I think 12×18 photos are the shiz. Here’s what it looks like in the entry:
Happy Forth of July everyone! I hope it is a fantabulous holiday for all of you, I am so happy to be American!

So cute! Thanks for linking up to the Upcycled Linky Party at http://love2upcycle.blogspot.com/2013/07/upcycled-linky-party-14.html
so happy to join in the fun! thank you!
The Wooden Bee says
Great idea! I saw your post on Love 2 Upcycle!
thank you so much for the comment! i just saw your blog and i LOVE it!
Shadrach says
Cool idea. I love that you didn’t stain behind the photo. I love that stain color. Plus you’re funny. Have a great day.
thanks for the comment! i think yours is the first non-family comment i have, made my day!
carbuloss says
Hello terrific website! Does running a blog similar to this take a massive
amount work? I’ve absolutely no expertise in computer programming however I had been hoping to start my own blog soon. Anyways, if
you have any recommendations or techniques for new blog owners please share.
I know this is off topic nevertheless I simply had to ask.
Appreciate it!
Funny I should find your comment today as I’ve recently moved and just started up again. Yes, it’s huge. There are several big bloggers out there that share tips, none of which I’m qualified to share. My favorite blogging tips are on centsationalgirl.com Good luck!
Andy says
I really like the shape you made for the frame. I’m have a hard time cutting a pattern to even get close to yours. How did you cut it? Did you have to cut on a certain fold in the paper?